October 30, 2026
Sauna Installation Wiring: What Every Homeowner Should Know Before Building
By @saunainstallationwiringinsight
When I built my first home sauna, I spent weeks comparing heater sizes, ceiling heights, and bench layouts. I had a whole spreadsheet dedicated to cedar grades and glass door options. But the part I almost got wrong was the wiring. Not because I didn't respect electricity, but because I assumed a standard 120-volt outlet would be enough. It wasn't. That mistake cost me a rewire and a delay of two weeks. If you are planning a home sauna, understanding sauna installation wiring before you break ground will save you time, money, and a lot of frustration.
Why Sauna Wiring Is Different From Other Home Circuits
A sauna is not a toaster. A typical sauna heater draws between 6 and 15 kilowatts, which translates to a current load of 25 to 60 amps at 240 volts. That is not something you can plug into a standard outlet. The sauna installation wiring must be a dedicated circuit running from your service panel or a subpanel directly to the heater. Most local codes and the National Electrical Code (NEC) require this dedicated circuit. No shared neutrals, no daisy-chaining off a nearby outlet.
I remember talking to a homeowner who had wired his sauna himself, using 12 AWG Romex because that is what he had left over from a kitchen remodel. He could not understand why the breaker tripped every time the heater kicked on. The answer was simple: 12 AWG wire is rated for 20 amps, and his heater needed 40. He had to rip out the wall and run new 6 AWG conductors. That is the kind of mistake you only make once.
Understanding the Load and the Wire Size
Every sauna heater comes with a specification sheet that tells you the minimum circuit ampacity and the recommended wire gauge. For most residential saunas, you are looking at 6 AWG or 8 AWG copper wire. The exact size depends on the distance from the panel to the heater and the ambient temperature inside the sauna room. The NEC provides derating factors for high-temperature environments, and a sauna room can easily reach 190 degrees Fahrenheit near the ceiling. That heat affects the wire's ability to carry current.
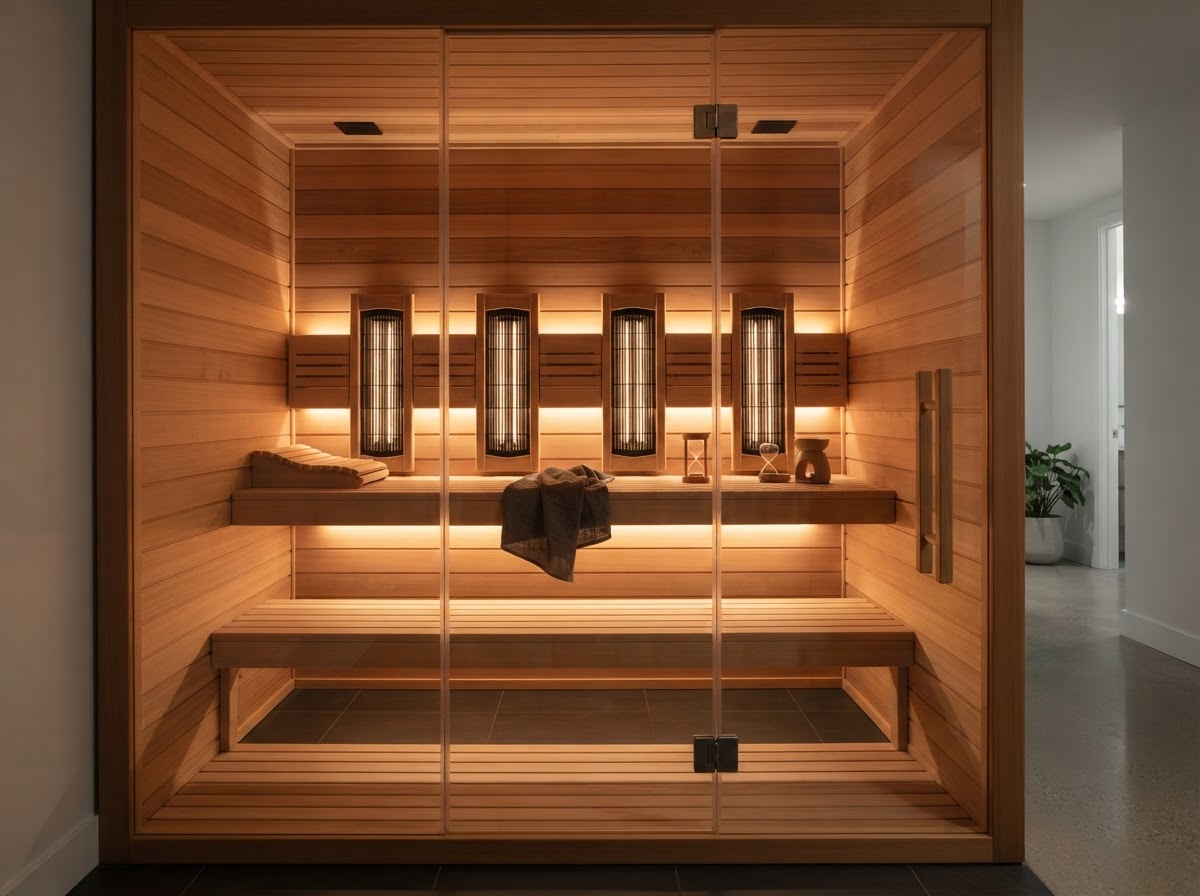
I always advise running a dedicated conduit from the subpanel to a junction box mounted outside the sauna room. From there, use a high-temperature-rated cable like THHN inside the conduit. Romex is fine for the run through the house, but once you get close to the sauna, switch to individual conductors in conduit. The heat will degrade Romex's PVC jacket over time. I have seen it happen. The jacket becomes brittle and cracks, exposing the copper.
GFCI Protection and the NEC
One of the most debated topics in sauna installation wiring is whether the circuit needs a GFCI breaker. The NEC requires GFCI protection for outlets in bathrooms, kitchens, and outdoors, but for saunas, the requirement is less straightforward. Many inspectors will require a GFCI breaker for the entire sauna circuit, especially if the sauna is in a basement or near a water source. However, some heater manufacturers, including Harvia and Finlandia, warn against GFCI breakers because nuisance tripping can happen when the heater elements warm up and cause a slight imbalance in current. A tripped GFCI means a cold sauna in the middle of winter.
I have seen installations where the electrician installed a GFCI breaker and it tripped every other session. The solution was to swap it for a standard breaker and add a separate GFCI-protected outlet inside the sauna room for lighting or a timer. That way, the heater circuit is not interrupted by ground-fault protection, but the room itself is still protected. Check with your local inspector before making that call. Some jurisdictions are strict.
Ceiling Wiring and Thermostat Placement
The sauna thermostat and the heater controls need careful placement. The thermostat sensor should be mounted on the wall near the ceiling, but not directly above the heater. The heat rises and creates a pocket of hot air right at the ceiling. If the sensor is too high, it will read a temperature higher than what you feel at bench level. Most manufacturers recommend placing the sensor about six inches below the ceiling on a wall away from the heater. The wiring for the thermostat runs through the wall cavity, and you need to leave a service loop so the sensor can be adjusted later.
Ceiling wiring for the sauna lights is another area where people cut corners. Sauna lights must be rated for high heat and humidity. Standard recessed cans will fail. You need vapor-tight fixtures with silicone gaskets. The wiring for those lights should be run in conduit or at least protected by metal boxes. I prefer to use an outlet box mounted above the ceiling insulation, with a whip running down to the light fixture. That keeps the connection point accessible and away from the direct heat.
The Role of a Subpanel
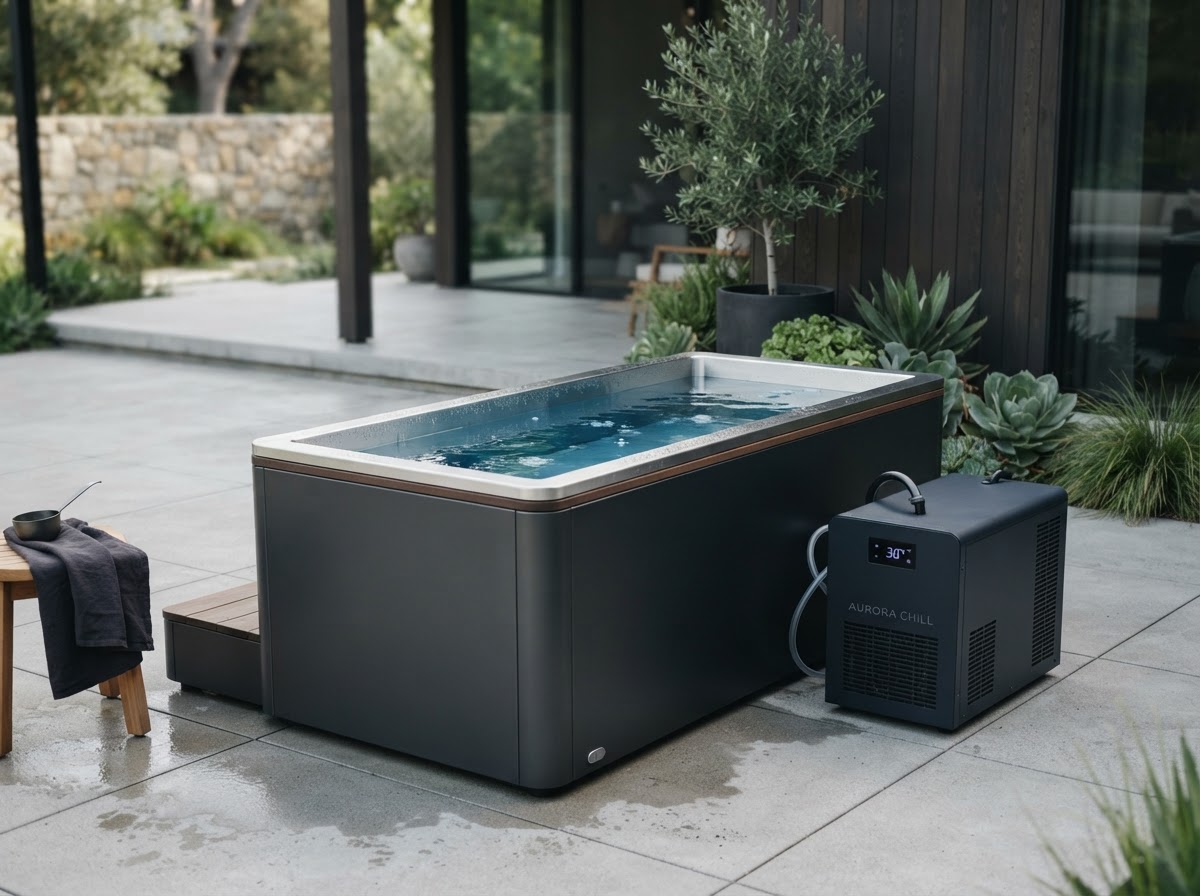
If your home's main service panel is far from the sauna location, you will need a subpanel. Running a single large feeder from the main panel to a subpanel near the sauna reduces voltage drop and simplifies the sauna installation wiring. For a typical sauna, a 60-amp subpanel is sufficient. From there, you can run separate circuits for the heater, the lights, and any outlets. I have helped friends install subpanels in garages and basements, and it always makes the final connection cleaner. Plus, if you ever need to add a cold plunge or an ice bath setup, that subpanel gives you room to grow.
Permits and Inspections
Pulling a permit for sauna wiring is not optional in most places. I know it feels like a hassle, but the inspection protects you. An inspector will check the wire gauge, the breaker size, the bonding, and the grounding. They will look for proper strain relief at every junction box. They will verify that the sauna heater is grounded correctly and that the wiring is not exposed to excessive heat. I have watched inspectors flag a Romex run that passed too close to a stovepipe. The homeowner had to reroute the cable through conduit. That inspection saved them from a potential fire.
If you are using a wood stove instead of an electric heater, the wiring requirements change. A wood stove does not need a high-current circuit, but it does need proper clearance to combustibles and a floor drain if you plan to pour water on the rocks. The wiring for the lights and the ventilation fan still needs to be installed to code. Even with a wood stove, you will likely need a permit for the electrical work.
Working With an Electrician
Unless you have experience with service panels and load calculations, hire a licensed electrician for the sauna installation wiring. This is not a weekend DIY project. A good electrician will know the local code amendments, the required clearances, and the proper way to terminate wires inside the heater's junction box. They will also know that Harvia heaters often require a specific type of strain relief at the connection point. Finlandia heaters have their own quirks too. A pro will have seen it all.
When I hired an electrician for my second sauna, I asked him to walk me through the rough-in before he closed the walls. He showed me how he used a Sharkbite fitting to connect the copper ground wire to the grounding electrode system. He explained why he chose a 50-amp breaker instead of a 40-amp, even though the heater was rated for 40 amps. It was because the wire run was 80 feet, and he needed to account for voltage drop. That kind of judgment is worth the hourly rate.
Three Practical Tips
- Always oversize the wire by one gauge if the run is longer than 50 feet. The cost difference is small, and the safety margin is large.
- Install the subpanel or junction box outside the sauna room. Heat and moisture inside the room will degrade connections over time.
- Label every breaker clearly. If someone else uses the sauna, they need to know which breaker to reset without guessing.
Final Thoughts on Safety and Simplicity
Sauna installation wiring is not the most glamorous part of building a home sauna, but it is the part that keeps you safe. A well-wired sauna runs for years without issues. A poorly wired one can cause fires, shocks, or just constant breaker trips that ruin the relaxation. Take the time to plan the circuit, choose the right materials, and get the permit. Your future self, sitting in a hot, dry room with the lights dimmed, will thank you.
❧